As the weather turns cold and the leaves have completely changed, all I want to do is cuddle up on the couch with a cozy blanket. I have always been attached to blankets. Growing up, I was the child attached to a beloved baby blanket that was dragged through the mud and cried on wash days.
Today, I want to share with you an easy self-binding minky blanket to decorate with or make for a loved one.
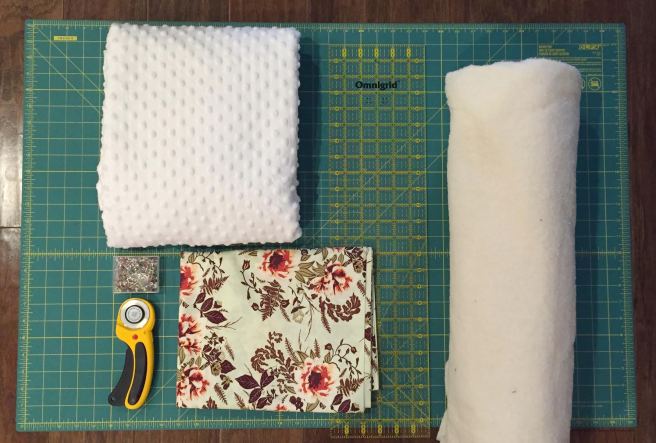
Products recommended for this project:
- Sewing Machine [any will do, I used Bernina Activa 140 because it is the one I have]
- Thread to match fabric [Coats & Clark all-purpose thread works universally on all machines]
- Straight pins
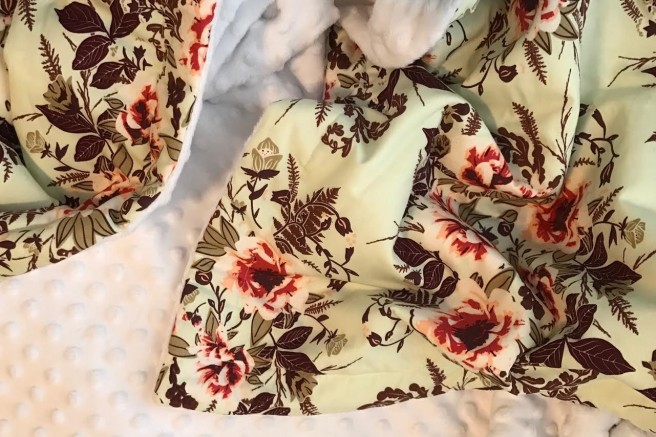
- Fabric of your choice [Pictured is Forest Floor, Wild Posy by Bonnie Christine and white dimple minky]
- Batting of your choice [80/20 from JoAnn’s Fabric is easy to work with and adds necessary weight]
- Fabric Scissors, Gingers
- OLFA cutting mat
- OLFA rotary cutter [45 mm is the easiest to use]
- Omnigrid Ruler
- Hand needle
To begin, decide what size the blanket will be when it is finished. I decided I was going to make it a small baby quilt = 1 1/2 yards.
Once the size is decided, cut the top and bottom to the desired size using the cutting mat, rotary cutter and ruler. Remember it is important to measure twice and cut once!
After the fabric is cut, lay out the batting and place the fabrics right-sides together on top of it. Pin the fabrics close together to the batting. Once the blanket is pinned to the batting completely, use fabric scissors (Gingers) to cut the batting to size following the fabrics edge. Make sure to leave the pins in.
Now it is time to sew! Place the pressure foot in the middle of a side using a 5/8 inch seam all the way around the blanket. When returning to the side where you first began, leave a hole 6 inches to allow for the blanket to be turned right-side out. Back stitching should be completed at the beginning and the end of the process.


Note: the reason I suggest to complete this step in the middle is because it will be easier to hand sew and maintain a straight edge instead of dealing with a corner.


To make the corners appear normal when completely finished, create a mitered corner. Cut each corner at a 45-degree angle as close to the stitches without breaking the stitches. This allows the excess fabric to be removed and lay flat once the blanket/quilt is finished.


Turning right-side out by putting your hand in the hole and reaching for a corner and pulling it through the hole. Complete this step until the blanket shows the pretty fabric you selected.
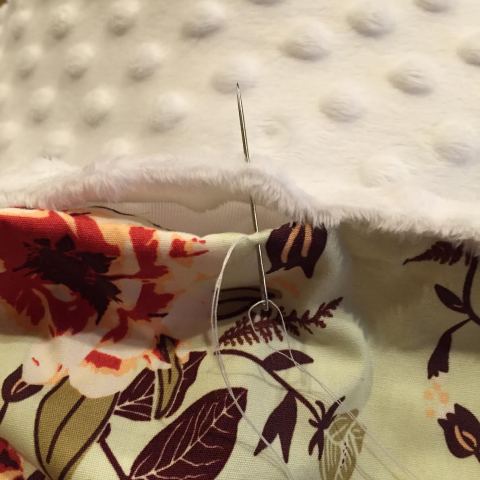
Hand sew the hole created to turn the quilt right-side out. This requires the edges to be folded in and a simple loop stitch to close the gap. This stitching will show, so make sure it looks good.
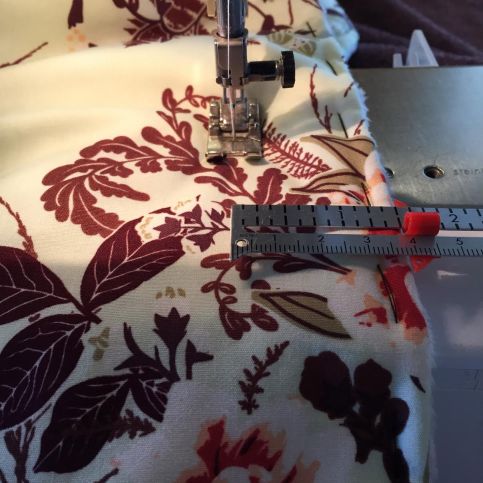
Sew again, 1.5 inches around the entire blanket creating a “border”. This step can be omitted, but I think it provides a nice finished look and long-term will allow it to be more durable.
That’s it! So easy that anyone can do it. Use this technique for other blankets or quilts. My favorite thing to do with this pattern is to make baby blankets and give to those in need. While the blanket is fun to create, the time spent cuddling up on cold fall days or serving those in need is what will bring the most happiness.